6 easy high-protein vegetarian recipes — chickpea pasta, quinoa pulao, moong matar cutlets, chana masala, air-fried veggies, and a chocolate cake. Macro-friendly, flavour-forward, and actually doable.
Look, we’ve all been there. You Google “high protein vegetarian meals” and you get a smoothie bowl with 8 grams of protein and a two-page essay about healing your gut. Not today. These six recipes are built around real macros, real flavour, and the kind of spice rack every kitchen already has. Each one is meal-prep friendly, adaptable, and actually good enough that you won’t be secretly wishing it was biryani. Let’s Cook!
- Chickpea Pasta (High-Protein, Veggie-Loaded)
- Quinoa Pulao with Edamame (Protein-Packed One-Pot Meal)
- Moong Matar Cutlets (Air-Fryer Friendly, No Deep Fry)
- Chana Masala Curry (The Classic, Done Right)
- Air-Fried Broccoli and Sweet Potato with Yogurt Paneer Dressing
- Chocolate Cake (Air-Fryer Edition, Actually Guilt-Free)
All recipes (ingredients) listed here serve 2 people. Nutrient profile is per serving. All the links given are unsponsored.
Chickpea Pasta (High-Protein, Veggie-Loaded)
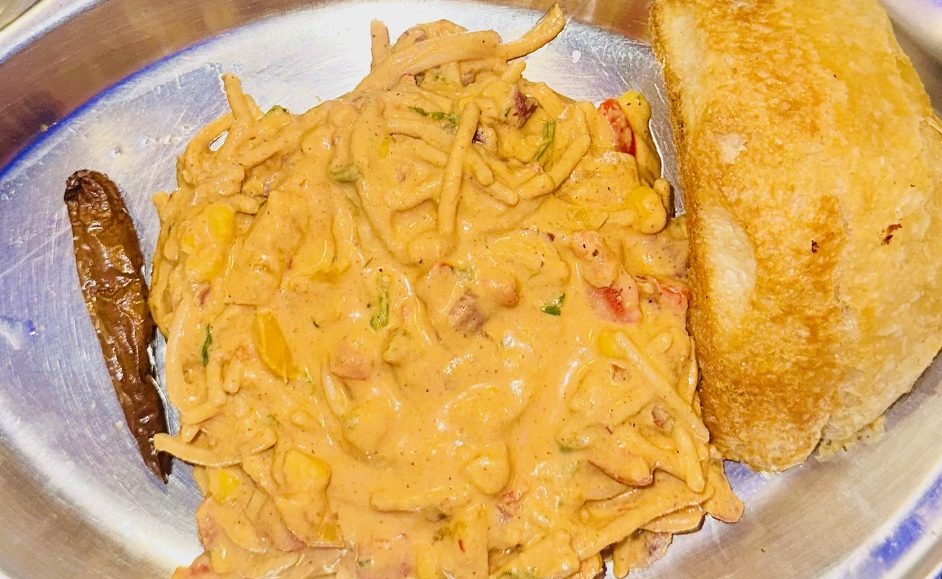
| Nutrient | Amount |
| Calories | 300Kcal |
| Protein | 18g |
| Carbs | 45g |
| Fat | 13g |
| Fibre | 11g |
| Sugar | 1g |
*Above macros are approximate and are per serving.
Ingredients
- 50g chickpea pasta (25g per person). I used the one from Pink Harvest Farms (You can use the chickpea one, or the red lentil one – I loved both)
- 1 tbsp olive oil
- Bell peppers — yellow, green, red (handful each)
- Red cabbage (handful)
- Carrot (1 small, julienned)
- Peas / matar (handful)
- 2–3 medium tomatoes
- 10–15g cashews or pumpkin seeds
- 20g paneer (blended into sauce)
- Spices: chaat masala, peri peri, salt, chilli powder, coriander powder, chilli flakes, oregano
Method
- Cook the pasta: Boil chickpea pasta al dente, it cooks faster than regular pasta, so keep an eye on it. Drain and rinse under cool water immediately.
- Sauté the veggies: Heat 1 tbsp olive oil in a pan. Toss in your bell peppers, red cabbage, carrot, and peas (I don’t use onions/garlic, you can, you do you). Sauté on medium-high until they’re cooked but still have some bite.
- Make the sauce: Blend together tomatoes, cashews (or pumpkin seeds), paneer and garlic into a smooth sauce. You can use pumpkins too, whatever you’re in the mood for (tend to be sweet, so use more spice as you like).
- Bring it together: Pour the sauce into the pan with the veggies. Add all your spices — chaat masala, peri peri, salt, chilli powder, coriander powder. Stir and cook for 3–4 minutes until the sauce thickens slightly.
- Add pasta: Fold in the cooked pasta, toss everything gently, cook for another 2-3 minutes.
- Finish: Top with chilli flakes and dried oregano. Plate. (Take a photo). Eat.
Quinoa Pulao with Edamame (Protein-Packed One-Pot Meal)
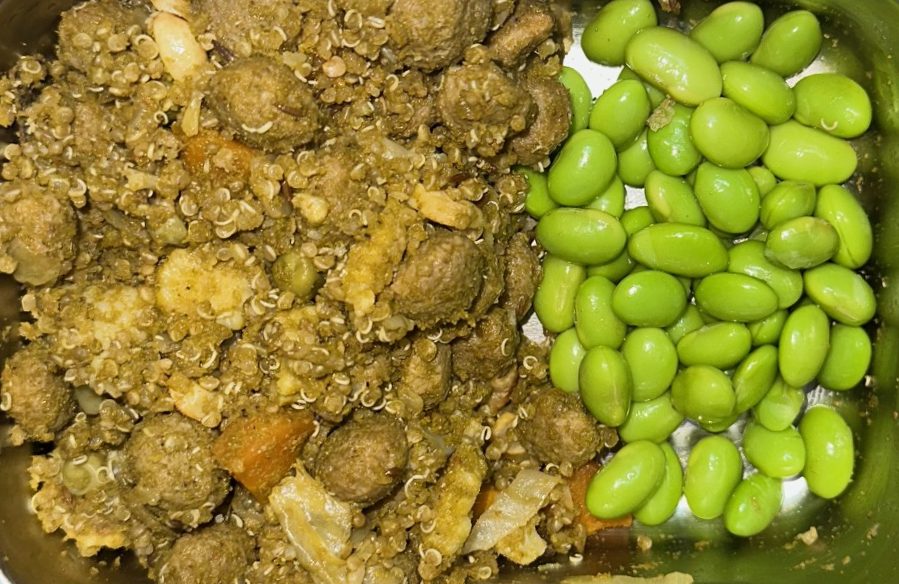
| Nutrient | Amount |
| Calories | 380 |
| Protein | 30g (with edamame) |
| Carbohydrates | 45g |
| Fat | 8g |
| Fiber | 11g |
Ingredients
- 100g quinoa (rinsed well). I use the one from Farmley. Quinoa is one of the vegetarian protein sources that is rich in all 9 amino acids.
- 1 tsp ghee or olive oil
- Whole spices: jeera (cumin), 1 cinnamon stick, 1 bay leaf, 2–3 cloves
- Bell peppers (mixed), carrot, green beans, soaked soy chunks
- Cabbage or onion
- Handful of palak (spinach)
- 1–2 tomatoes
- Coconut milk (thin – blend fresh coconut with water OR use light coconut milk), enough to cook the quinoa (roughly 1.5x the volume of quinoa)
- Spices: Salt, chilli powder, garam masala, coriander powder
- Fresh coriander + lemon to finish
- Serve with: boiled edamame (belongs to the soy family, great in protein) on the side.
Method
- Sauté the base: In a pressure cooker, heat oil/ghee. Add jeera, cinnamon, bay leaf, and cloves. Let them crackle and do their thing.
- Add veggies: Toss in bell peppers, soy chunks, carrot, beans, and cabbage/onion. Sauté for 4-5 minutes.
- Add quinoa + coconut liquid: Pour in the rinsed quinoa.
- Add the juice mix: Add palak and tomato juice and coconut milk instead of plain water. Stir for a minute. About 200 ml overall for 100g quinoa. This is where the magic happens. Add all spices.
- Pressure cook: Close the lid and cook for 4-5 whistles on medium flame.
- Rest, fluff, and finish: Let pressure release naturally. Open, fluff gently with a fork. Squeeze lemon, top with fresh coriander.
- Serve with boiled edamame on the side. Simple, high-protein, very satisfying.
Moong Matar Cutlets (Air-Fryer Friendly, No Deep Fry)
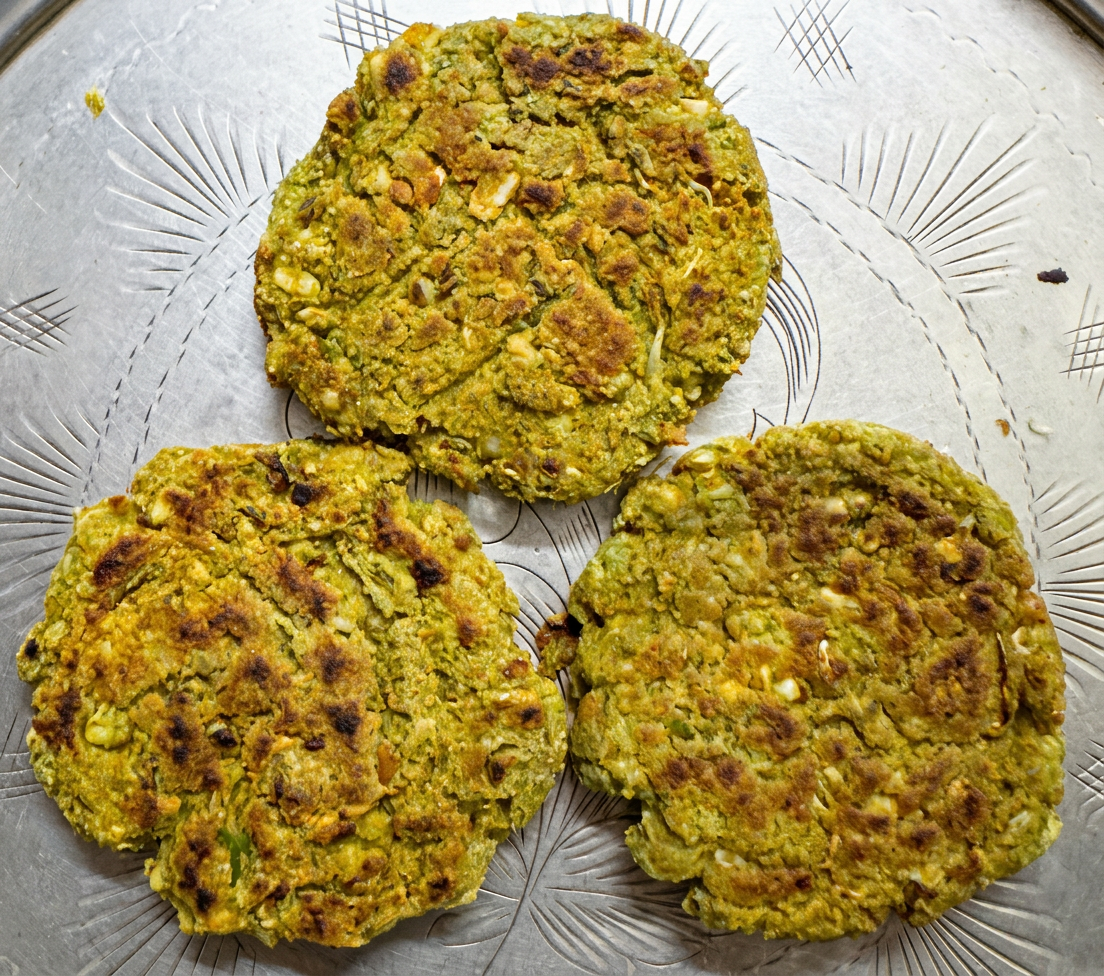
| Nutrient | Amount |
| Calories | 300 |
| Protein | 18g |
| Carbohydrates | 55g |
| Fat | 8g |
| Fiber | 13g |
Ingredients
- 200g green peas (matar), boiled (100g per person)
- 200g moong sprouts, sautéed
- 60g oats (blended into flour)
- Spices: chaat masala, peri peri, salt, chilli powder, garam masala, coriander powder.
- Makes about 10-12 cutlets in total. 5-6 cutlets per person.
Method
- Cook your bases: Boil the matar until soft. Separately, lightly sauté the moong sprouts in a dry pan or with a tiny bit of oil for 3–4 minutes (this removes the raw smell).
- Blend: Combine matar and sautéed sprouts in a blender. Pulse into a thick paste. Don’t over-blend, you want some texture, not baby food.
- Make the binder: Blend oats in a dry grinder into a coarse flour. Add to the paste.
- Season: Mix in all your spices. Taste as you go.
- Shape: Divide into equal portions, shape into round or oval cutlets. Press them flat — thinner = crispier.
- Cook:
- Tawa method: Heat a non-stick pan, brush with minimal oil, cook cutlets on medium for 3–4 mins per side until golden.
- Air fryer method: 180°C for 18–20 minutes, flipping halfway. Check at 15 minutes. Air fryers are dramatic and yours may run hot.
Chana Masala Curry (The Classic, Done Right)
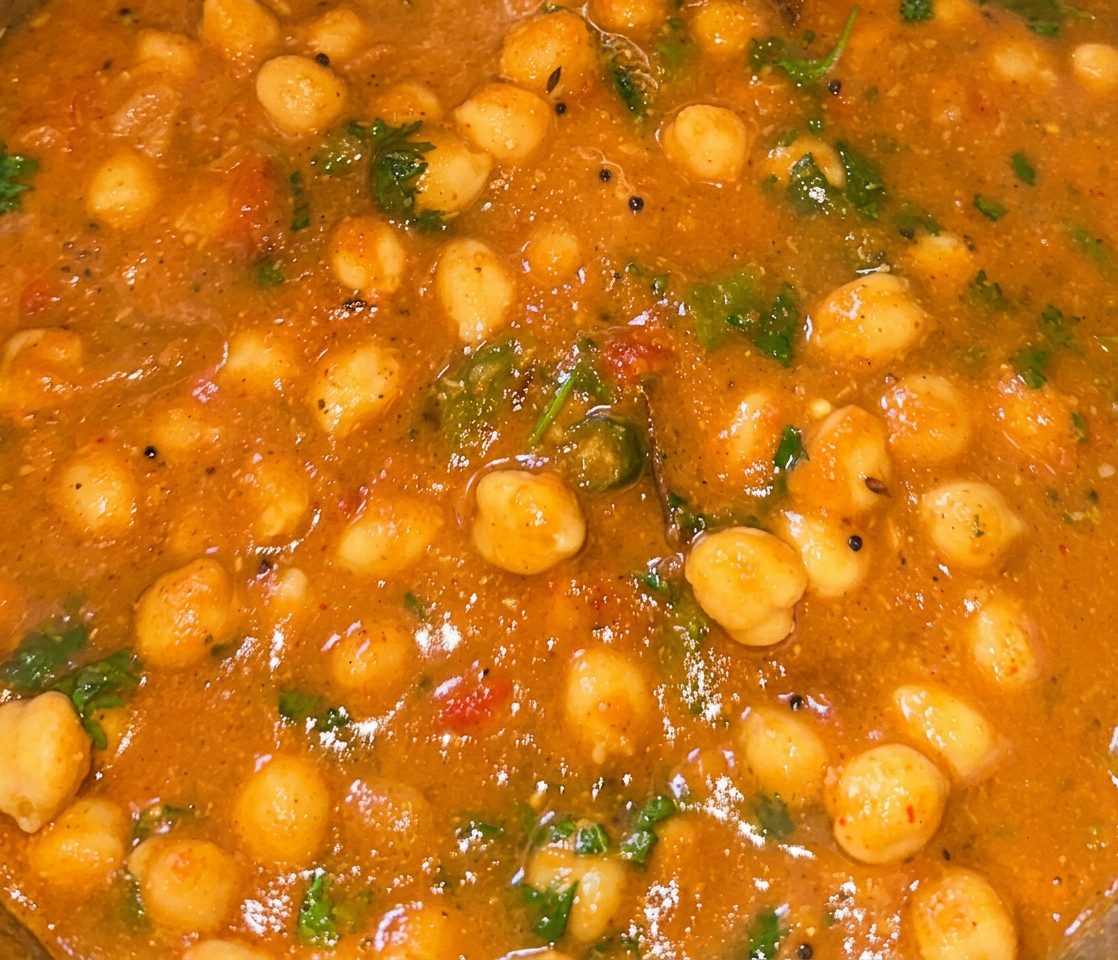
| Nutrient | Amount |
| Calories | 330 |
| Protein | 14g |
| Carbohydrates | 40g |
| Fat | 10g |
| Fiber | 10g |
Ingredients
- 150g dried chickpeas, soaked overnight (75g per person). Kabuli Chana or Black Chana – whatever you like. I alternate the variety every week.
- 1 tbsp olive oil. I alternate between ghee, olive oil, flaxseed oil, and sunflower oil.
- 1 bay leaf, 1 small cinnamon stick, 1 tsp jeera
- 1 medium onion, finely chopped
- 2 tomatoes + 10g cashews + 10g pumpkin seeds (blended)
- 1 tsp ginger-garlic paste
- Spices: Chole Masala, Salt, Garam Masala, Chilli powder, Coriander Powder
Method
- Pressure cook chana: Drain soaked chickpeas. Pressure cook with enough water for 6–8 whistles on medium, or until completely tender. Drain and reserve the water.
- Make the base: In a pan, heat oil. Add bay leaf, cinnamon, jeera – let them sizzle. Add onions, cook until golden brown.
- Add ginger-garlic paste: Cook for 2 minutes until the raw smell disappears.
- Add the blended sauce: Pour in the tomato-cashew-pumpkin seed blend. Cook on medium, stirring occasionally, until the oil separates from the masala (~8–10 mins). This is where your curry gets its depth.
- Thickness hack: Take a handful of the boiled chickpeas and blend them with a little reserved water into a smooth paste. Add this back to the pan — instant thickness without any cream or cornflour.
- Add the chickpeas: Fold in the remaining whole boiled chana. Add spices, mix well.
- Simmer: Add a splash of reserved cooking water if needed. Simmer for 8–10 minutes until everything is married together and smells incredible.
- Serve with quinoa, millet roti, or just eat it with a spoon. No judgement here.
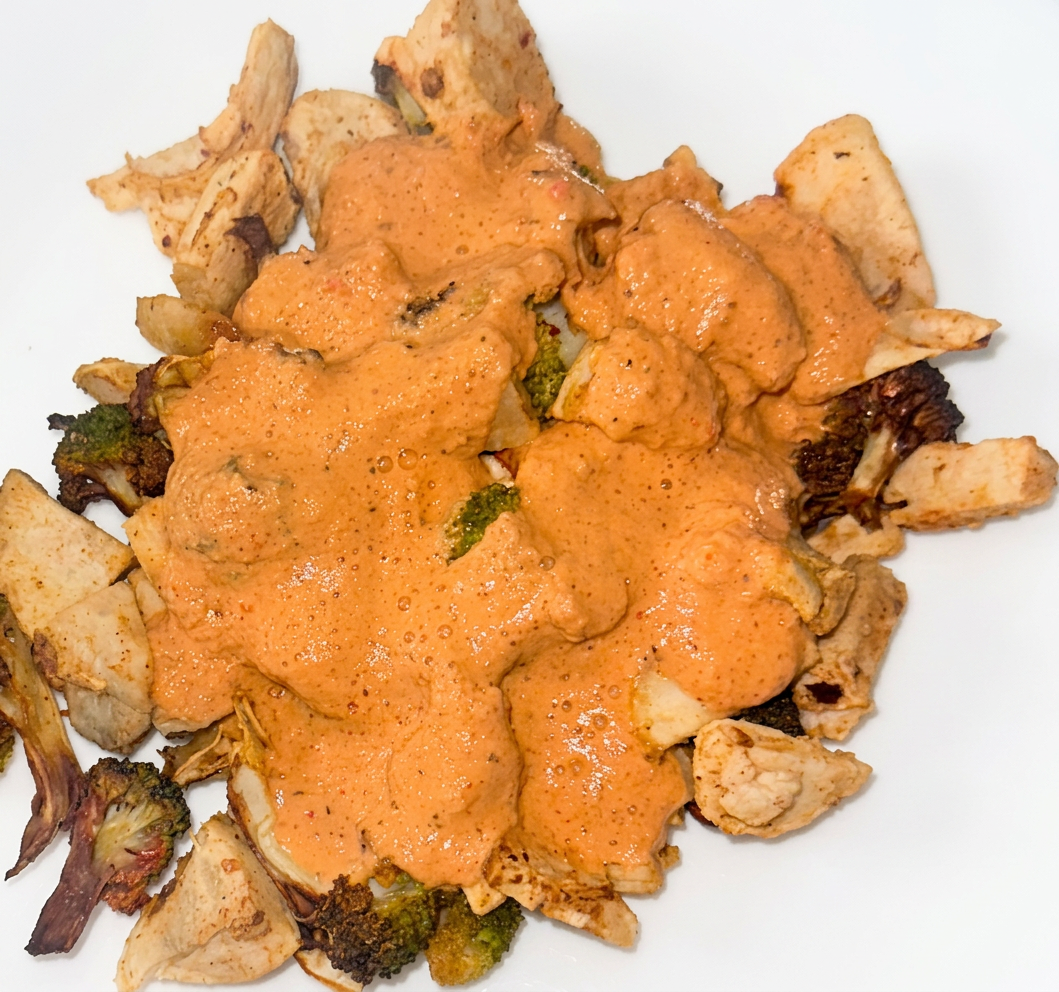
Air-Fried Broccoli and Sweet Potato with Yogurt Paneer Dressing
| Nutrient | Amount |
| Calories | 150 |
| Protein | 9g |
| Carbohydrates | 24g |
| Fat | 1.5g |
| Fiber | 6g |
Ingredients
For the veggies:
- 1 medium sweet potato
- 1 small head broccoli (or half large)
- Spices: chaat masala, peri peri, salt, chilli powder, coriander powder
For the dressing:
- 50g Greek yogurt
- 20g paneer
- 2–3 tbsp tomato purée or 1 small ripe tomato
- A pinch of spices
Method
- Boil separately: Boil broccoli florets until just tender (don’t overcook — they’ll finish in the air fryer). Separately, boil sweet potato with skin on until a knife goes through easily.
- The starch trick: Peel the boiled sweet potato, then refrigerate for at least 1 hour. This cooling process converts some starch into resistant starch, lowering the glycaemic impact. Science is delicious.
- Cut and season: Remove sweet potato from fridge, cut into cubes. Combine with broccoli florets. Toss with all your spices.
- Air fry: 180°C for 10–12 minutes. Check at the 8-minute mark — broccoli tips can burn fast. You want golden edges, not charcoal.
- Make the dressing: Blend together Greek yogurt, paneer, tomato, and spices until smooth. This doubles as a dip and a drizzle — versatility is a virtue.
- Serve: Plate the veggies, drizzle or dollop the dressing on top. Eat immediately while it’s still crispy.
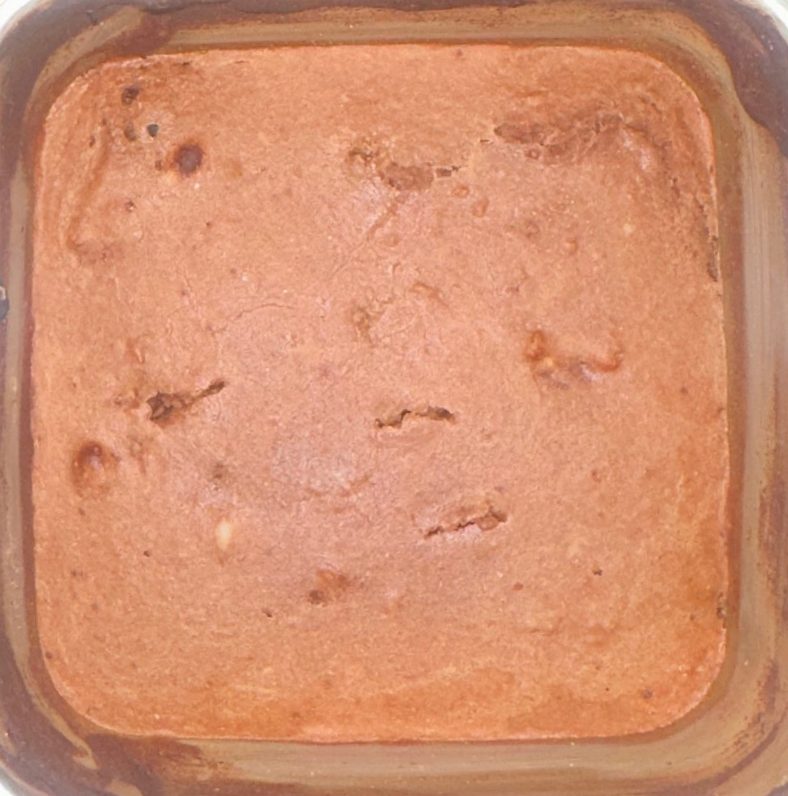
Chocolate Cake (Air-Fryer Edition, Actually Guilt-Free)
| Nutrient | Amount |
| Calories | 200 |
| Protein | 15g |
| Carbohydrates | 28g |
| Fat | 6g |
| Fiber | 8g |
Ingredients
- 40g chocolate pancake mix. I use the one from Cosmix.
- 1–2 tsp cocoa powder (unsweetened)
- 3–4 tbsp almond milk (adjust for consistency)
- 20-30g Greek yogurt
- Optional: 5g dark chocolate chips on top, a drizzle of honey
Method
- Make the batter: Combine pancake mix, cocoa powder, almond milk, and Greek yogurt. Mix until you have a thick, smooth paste – thicker than regular cake batter. It should just about drop off the spoon, not pour.
- Pour into vessel: Grease a small oven-safe ramekin or silicone mould. Pour in the batter. Top with chocolate chips if using.
- Cook:
- Air fryer: 180°C for 15–20 minutes. Start checking at 15 mins — insert a toothpick, if it comes out mostly clean, you’re done.
- Oven: 170°C for 20 minutes.
- Cool slightly before eating. Molten cake is aspirational, burnt tongue is not.
Greek yogurt adds protein and keeps it moist. Don’t skip it in favour of extra almond milk or you’ll get a sad, dry puck.
Your healthy cooking does not have to look boring. As someone who once didn’t enjoy cooking and is still learning, these turned out pretty well. Now go cook, enjoy and let me know how it turned out in the comments. We’re in this together – making healthy food tasty.
This is the first part of an ongoing recipe series, more to come.
 Divya Hasti
Leave a comment